
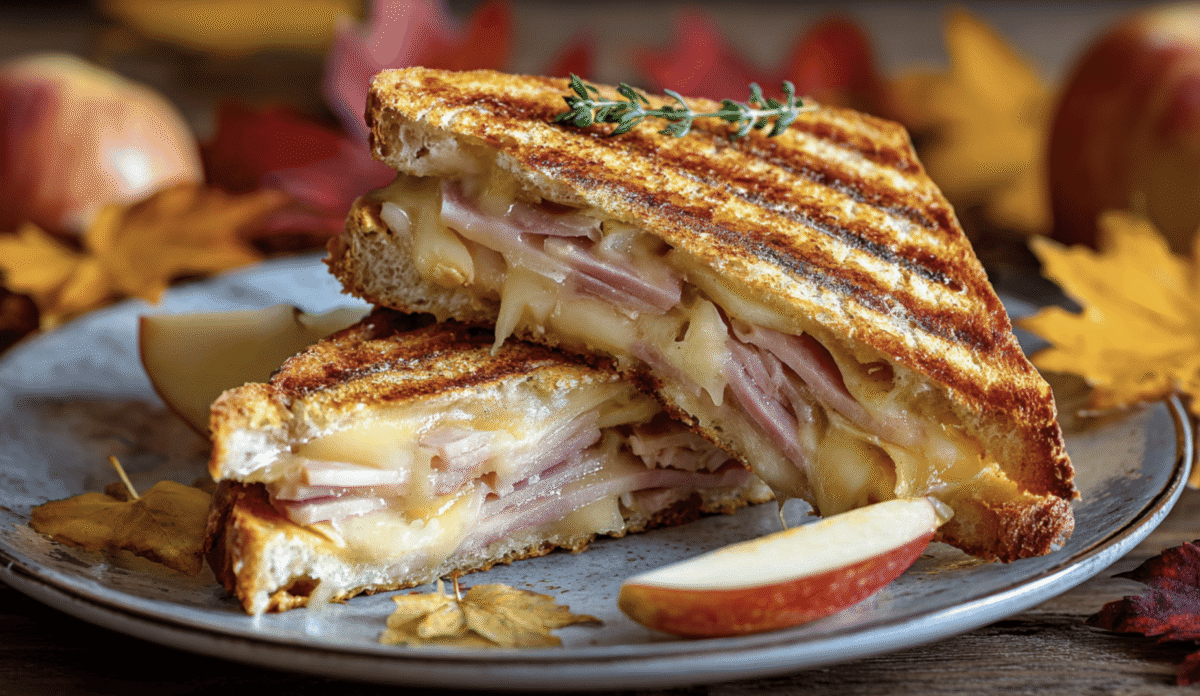
This Ham and Apple Panini is the perfect fall sandwich that combines kids’ favorite flavors with grown-up sophistication – crispy, melty, and surprisingly easy to make!
Why We Love This Ham and Apple Panini
We’ve all been there – staring into the fridge at 5 PM wondering how to turn random ingredients into something the whole family will actually eat. Last week, I had leftover ham from Sunday dinner, and a bag of apples in the fridge. That’s when I discovered that the secret to getting my picky eaters excited about sandwiches isn’t fancy ingredients – it’s the magic combination of crispy bread, melty cheese, and that perfect sweet-savory balance.
My kids have always been suspicious of “grown-up” sandwiches, but there’s something about pressing a sandwich in a panini maker that transforms ordinary ingredients into something special. The crispy exterior gives way to warm, gooey cheese and tender ham, while the apple slices add just enough sweetness to balance the smoky flavors. Even my most stubborn eater, who usually picks apart every sandwich I make, devoured this one without a single complaint.
The best part? This recipe works whether you’re making a quick weekday lunch or want to elevate your weekend sandwich game. I love that I can use whatever apples we have on hand, and the kids feel like they’re getting restaurant food right at home!
How to Make Perfect Ham & Apple Panini
Getting the technique right means the difference between soggy sandwiches and crispy-outside, melty-inside perfection that makes everyone happy.
Choose the Right Bread and Prepare It Properly
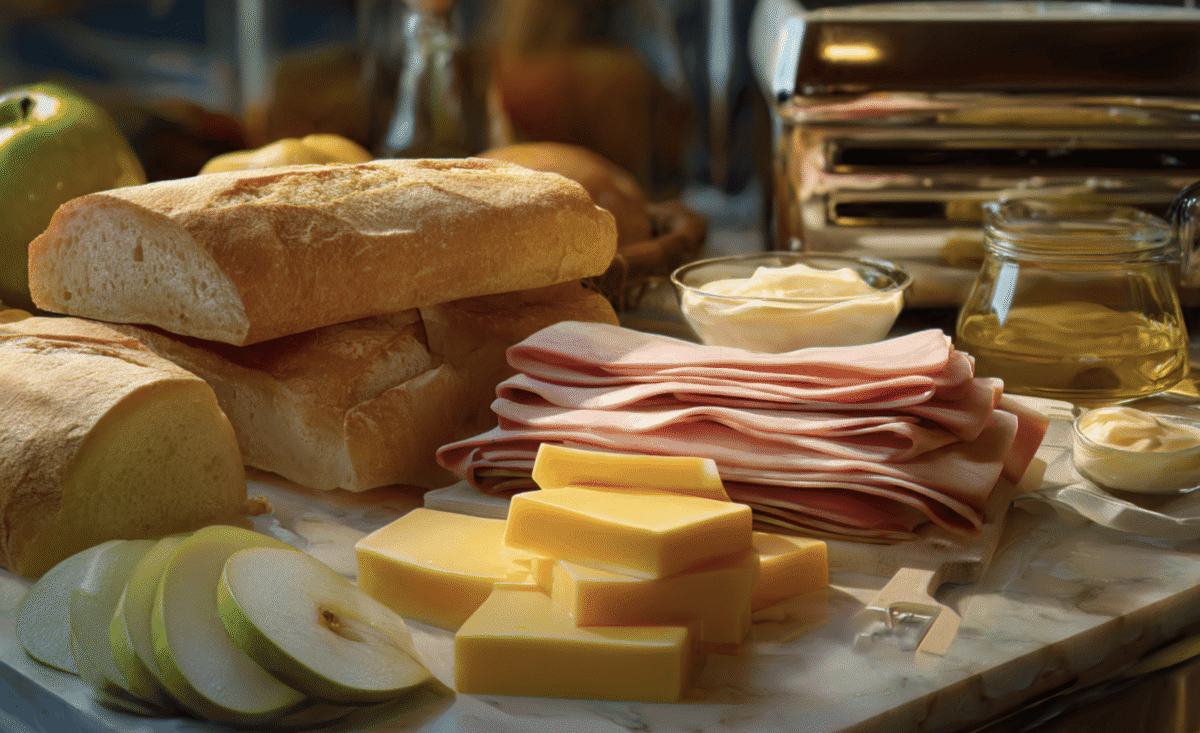
Sturdy bread like ciabatta rolls or thick country-style bread is essential because it holds up to pressing without falling apart or getting soggy from the apple juices. I always split the rolls completely and make sure both sides are evenly buttered on the outside – this creates that golden, crispy crust that makes panini so irresistible. The bread should be substantial enough to contain all the fillings but not so thick that it doesn’t cook through in the short pressing time.
Layer Ingredients Strategically for Best Results
Start with cheese directly on the bread to create a barrier that prevents the apple juices from making the bread soggy, then layer the ham and apple slices evenly so every bite has the perfect ratio of flavors. I’ve learned that thin apple slices work much better than thick ones because they soften nicely without releasing too much moisture or making the sandwich difficult to bite through. The mustard should go on the inside surfaces only, never on the outside where it could burn during pressing.
Master the Pressing Technique
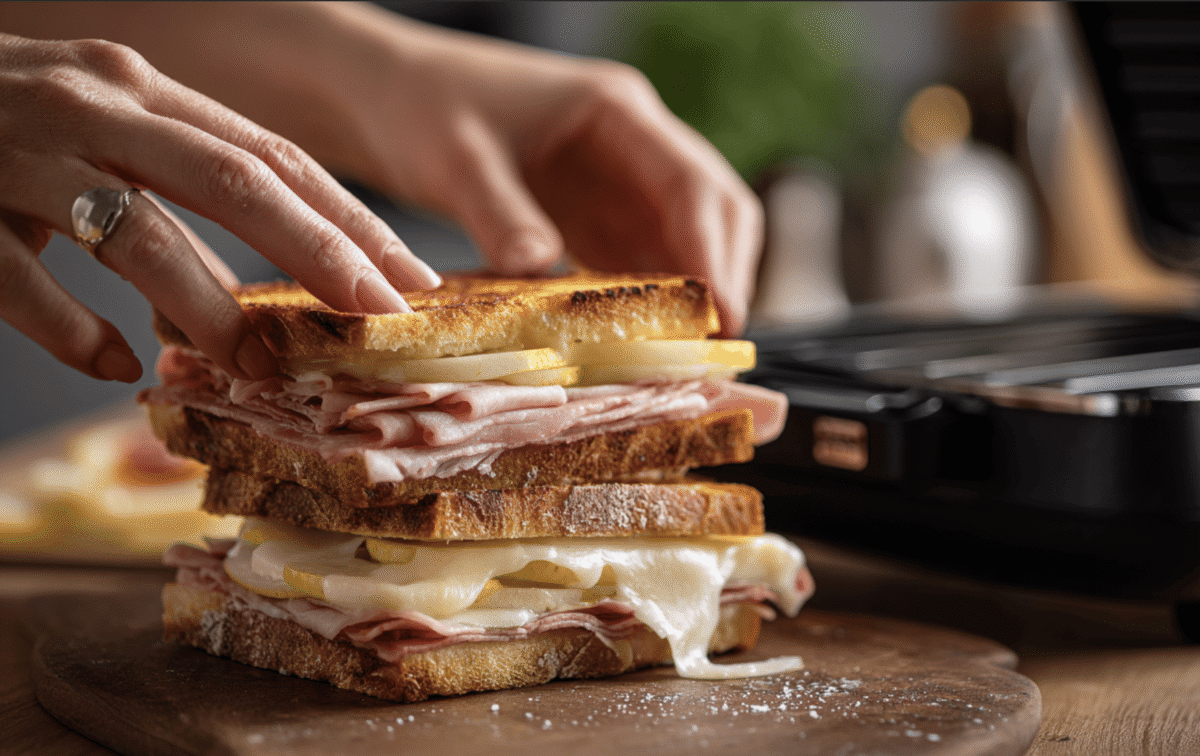
Medium heat is crucial – too hot and the outside burns before the cheese melts, too low and you won’t get that satisfying crispiness that makes panini special. Press firmly but don’t smash the sandwich completely flat; you want some height left so there’s room for all those delicious layers. If you’re using a grill pan instead of a panini press, place a heavy skillet on top of the sandwiches and press down gently while they cook, flipping once halfway through.
Kid Helper Jobs for Ham & Apple Panini
Getting children involved in making these panini turns lunch prep into quality time and helps them feel proud of contributing to family meals.
Perfect Tasks for Ages 4-7
Little ones can easily wash and dry the apples, spread softened butter on the outside of the bread with a plastic knife, and help arrange the ham slices on the sandwiches. They love being in charge of pressing the timer button and watching through the panini press lid as the cheese melts and the bread gets golden. My youngest always volunteers to be the “cheese inspector” to make sure it’s perfectly melted before we take the sandwiches out.
Great Jobs for Ages 8-12
Older kids can safely core and slice the apples with proper supervision, spread the mustard and mayo inside the sandwiches, and help assemble the entire panini from start to finish. They’re usually capable of operating the panini press themselves once you’ve shown them how to do it safely, and they love the responsibility of timing the cooking perfectly. My middle schooler has become our family’s official “panini chef” and takes pride in getting the golden-brown color just right every time.
Teenagers Can Take Full Ownership
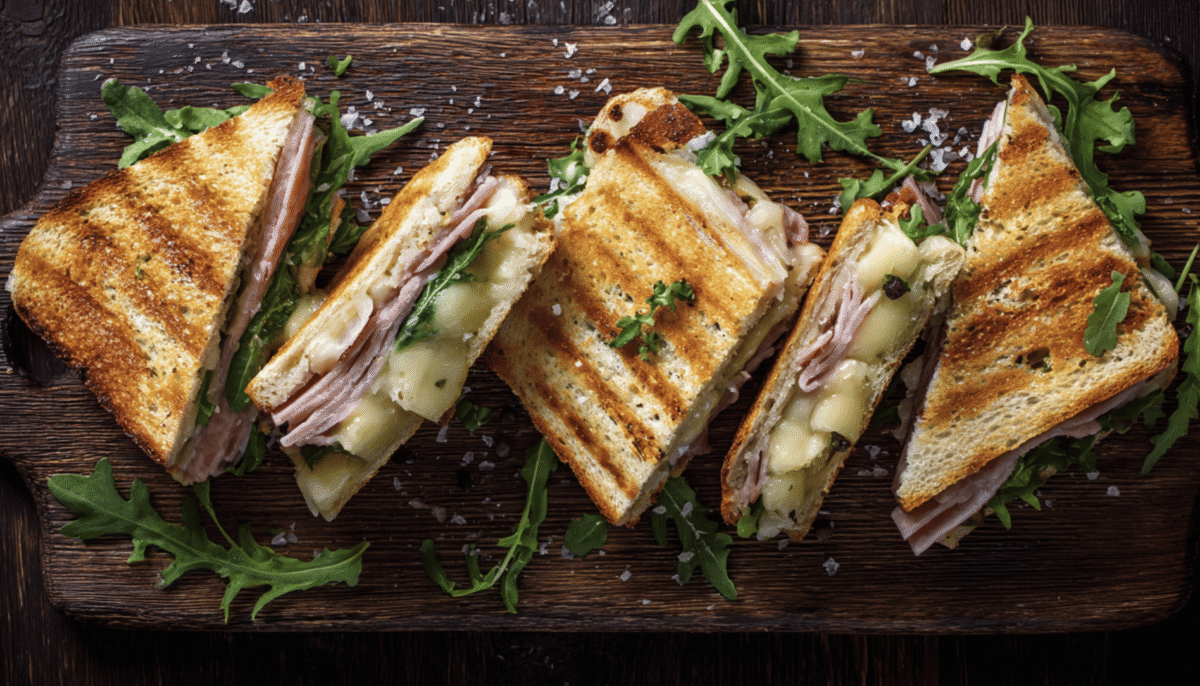
High school kids can easily make these panini independently, experimenting with different cheese combinations or apple varieties to find their perfect version. They often enjoy making these for friends or taking over panini-making duties for the whole family on weekends. Encouraging them to try variations like adding arugula or different mustards helps them develop their cooking confidence and palate at the same time.
Looking for More Delicious Sandwich Recipes?
Ham and Cheese Panini
This simple, delicious sandwich combines kid favorite flavor with grown up sophistication. Sweet and savory flavors come together in a crispy, melty meal that is perfect for lunch or dinner!
Servings: 4
- 8 slices country-style bread or 4 ciabatta rolls
- 1/2 lb black forest or smoked ham sliced
- 4 oz aged cheddar or gruyere cheese sliced or shredded
- 1 granny smith or fuji apple cored and thinly sliced
- 4 tbsp dijon or honey dijon mustard
- 2 tbsp mayonnaise if desired
- 4 tbsp butter softened
- fresh arugula optional
- red onion, thinly sliced optional
-
If using red onion, thinly slice and add to a bowl of vinegar 20 minutes, then drain. This helps to mellow the flavor. Prepare remaining ingredients.
-
Spread softened butter to the outside of the bread. On the inside of each slice of bread, spread a thin layer of dijon mustard and mayonnaise (if using, for extra creaminess).
-
To four of the bread slices, add half of the cheese, the ham, and the apple slices. Add the red onion and arugula if desired, then top with the rest of the cheese. Top with the other slice of bread, buttered side up.
-
Place the sandwiches in a preheated panini press and close firmly but gently to avoid over flattening. Cook for about 4-5 minutes or until golden brown and the cheese is melted. If you don’t have a panini press, place the sandwiches on a preheated grill pan and top with a heavy skillet, flipping it halfway through.
-
Remove the sandwiches from the pan. Wait 1-2 minutes before slicing and serving. Enjoy!

